
TABLE OF CONTENTS
Experience the Future of Speech Recognition Today
Try Vatis now, no credit card required.
Properly timestamping a video means adding time markers that sync up with specific moments—like a new speaker, a topic change, or a key event. You can do this automatically with AI transcription tools that generate word-by-word timing, or you can add them manually to a video description on a platform like YouTube.
This guide will walk you through practical, step-by-step methods to add timestamps to your videos, making them more accessible, engaging, and professional.
Why Accurate Video Timestamps Are So Important
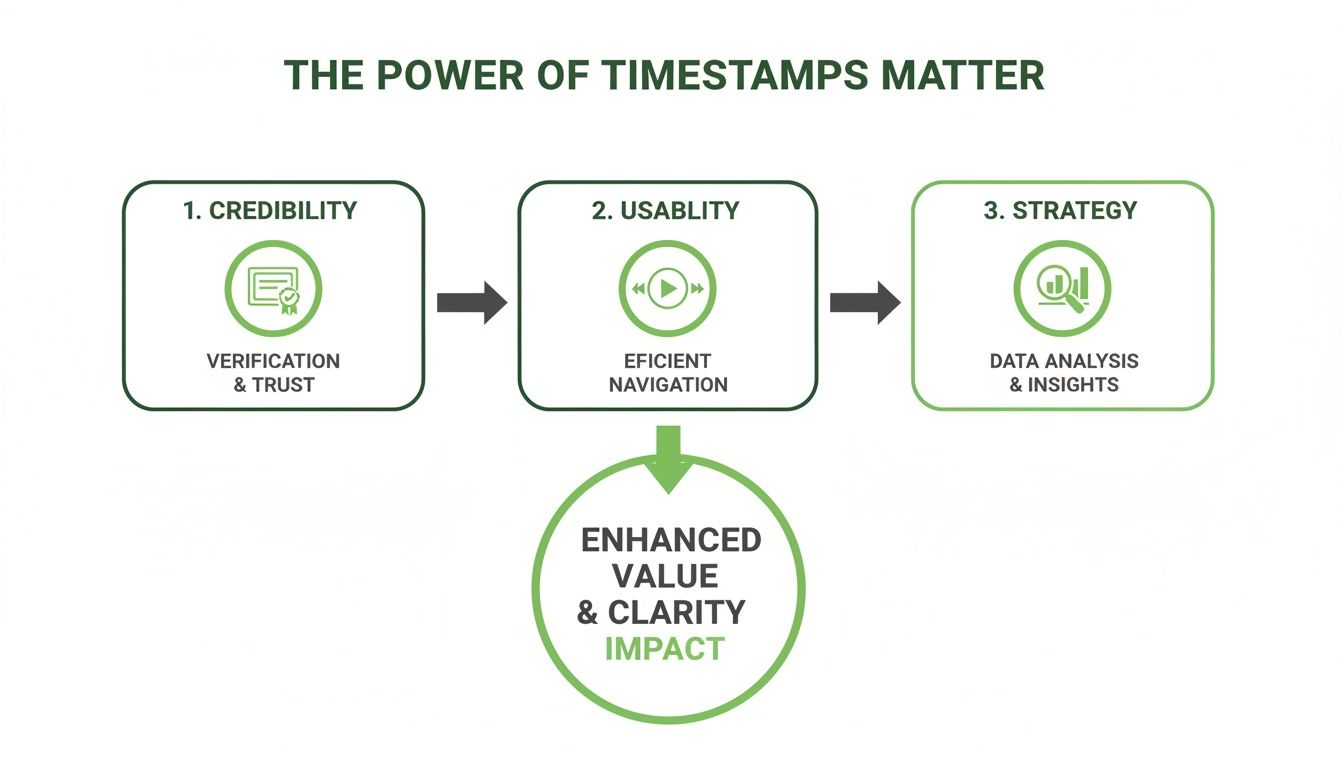
Before we get into the "how," let's talk about the "why." Timestamps are more than just numbers on a screen. They’re a strategic tool that completely changes how people interact with your video content. For many professionals, they aren't just a nice-to-have; they're an absolute necessity.
This is especially true in high-stakes fields. Journalists, for example, depend on timestamps to verify footage and build credible timelines when covering breaking news. A precise time marker can be the difference between a confirmed fact and pure speculation. In the same way, media monitoring services need second-by-second accuracy to track brand mentions and analyze public sentiment as it happens.
Boosting Credibility and Legal Integrity
In a legal context, accurate timestamps are non-negotiable. Video depositions and surveillance footage are often admissible as evidence because timestamps can prove exactly when an event took place.
Forensic analysis of this data has become a game-changer. Since 2015, video timestamp analysis has helped reduce wrongful convictions by up to 25% in certain cases by pinpointing events with frame-by-frame precision. Experts dig into metadata like dates and device IDs to spot tampering, which shows up in about 12% of video evidence submitted in court. In civil cases, like insurance fraud, verified video timelines help recover an estimated $2.5 billion a year because claims tend to settle 40% faster. You can learn more about these forensic methods over at Eclipse Forensics.
Timestamps transform video from a passive recording into an active, searchable, and verifiable record. They make content more accessible, credible, and useful for everyone, from casual viewers to legal experts.
Improving User Experience and Engagement
Beyond the professional world, timestamps make a massive difference for everyday viewers. Think about long-form content like webinars, online courses, or detailed tutorials. Without timestamps, these videos can feel like a huge, intimidating wall of information.
By adding timestamps, you're essentially creating a clickable table of contents. This lets viewers:
- Instantly jump to the sections that matter most to them.
- Quickly re-watch a specific point without having to scrub back and forth.
- Easily share a link that starts the video at the exact moment they want someone else to see.
This simple navigation respects your viewer's time, which is a surefire way to boost watch time and keep people engaged. It turns a passive viewing session into an interactive experience.
Generating Timestamps with AI Transcription Tools
Forget the days of tedious manual timestamping. The fastest, most efficient way to time stamp video today is by using AI-powered transcription tools. What used to be a mind-numbing task requiring complex software is now almost completely automated.
The process couldn't be simpler. You just give the AI your video file—either by uploading it directly or pasting a link from a platform like YouTube. Select the language spoken in the video, and let the AI do its thing.
The Magic Behind AI Transcription
So, what's happening under the hood? The AI uses advanced speech-to-text algorithms to listen to your video and convert every spoken word into a written transcript. These systems are trained on massive audio datasets, allowing them to recognize words, phrases, and even different speakers with impressive accuracy.
For instance, if you're transcribing an interview with multiple people, a good AI can perform speaker diarization. This means it automatically identifies who is speaking and labels each line of dialogue accordingly.
At the same time, the AI is creating word-level timestamps, marking the exact start and end time for every single word. This granular detail is what makes AI-generated timestamps so powerful, often hitting over 98% accuracy right out of the box.
If you want to get into the weeds of the technology, you can learn more about our AI speech-to-text capabilities.
This process is already making a huge impact. With global video generation expected to surpass 3.5 billion hours daily in the near future, timestamps are essential for making content searchable and trustworthy. In media monitoring, for example, timestamped videos lead to 75% faster topic detection, while government and legal firms save thousands of hours on reviewing evidence and documentation.
Reviewing and Refining Your Transcript
Of course, no AI is flawless. That’s why any solid transcription service will include a user-friendly editor, letting you give the transcript a final once-over. This is where you can quickly proofread the text and make any small adjustments.
In a typical interactive editor, you can click on any word in the transcript and instantly hear the corresponding audio. This makes it incredibly easy to verify accuracy and fix anything the AI might have missed.
This editing step offers a few key advantages:
- Precision: Easily correct misspellings of names, company-specific terms, or industry jargon.
- Timing Adjustments: Fine-tune the start and end times of captions to ensure they sync perfectly with the on-screen action.
- Speaker Labels: Correct or reassign speaker labels if the AI gets them mixed up.
The combination of automated transcription and an intuitive editor gives you the best of both worlds: the speed of AI and the precision of human oversight.
This method works just as well for a quick social media clip as it does for a feature-length documentary. If you're creating content for platforms like TikTok, understanding how to auto-generate TikTok captions with AI shows just how powerful these tools have become. Once you’re happy with the result, all that's left is to export the file.
Using Timestamps for Captions and Chapters
So you've got a perfectly timed transcript from your AI tool. Now what? That raw text file is your foundation for making your video infinitely more accessible and user-friendly.
The next step is to transform that transcript into specialized formats that video players and editing software can actually use. This is where you create powerful features like closed captions and interactive video chapters.
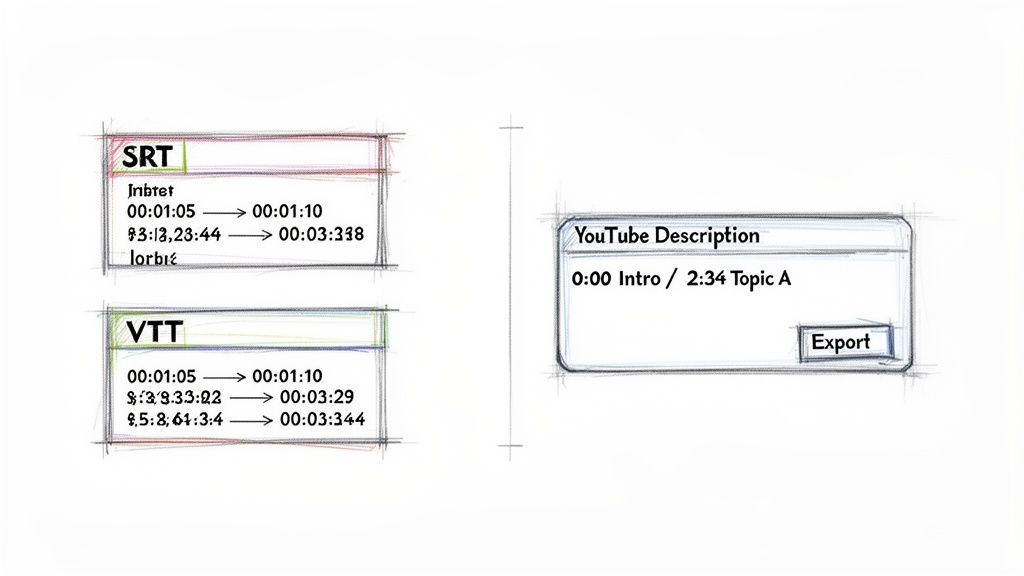
The two main file formats you'll work with are SRT (SubRip Text) and VTT (WebVTT). Both do the same basic job—syncing text to video—but they have some important differences in what they can do and where they work best.
Choosing Between SRT and VTT Files
SRT is the old reliable of the captioning world. It's a dead-simple plain text file that contains only three things: a number for the caption sequence, the timecode, and the caption text itself. Its biggest strength is its simplicity, which gives it near-universal compatibility across social media platforms, desktop video players, and most editing software.
VTT is the modern successor, built directly on SRT's foundation. It adds a whole layer of customization that SRT just doesn't have, like control over text color, font styling, and on-screen positioning. This makes VTT the go-to format for HTML5 video players and any web-based project where you need more granular control over how your captions look.
Key Takeaway: Start with SRT for maximum compatibility and ease of use. Switch to VTT only when you specifically need advanced styling for web players.
To help you decide which one to use when you time stamp video captions, here’s a quick rundown of the key differences.
SRT vs. VTT Caption File Formats
This table breaks down the features and common uses for the two most popular caption file formats.
| Feature | SRT (SubRip Text) | VTT (WebVTT) |
|---|---|---|
| Basic Functionality | Displays synchronized text | Displays synchronized text |
| Styling Options | None (uses player default) | Rich styling (color, font, position) |
| Compatibility | Extremely high (most platforms) | Good (modern web browsers, some platforms) |
| Common Use Case | YouTube, Vimeo, social media, Premiere Pro | Web-based video players, HTML5 projects |
Ultimately, choosing the right file type ensures your audience has a seamless experience, whether they're watching on YouTube or a custom website.
For a deeper dive into using these files in a professional workflow, learning how to handle accurate video timestamps is a game-changer when Mastering Subtitles in Premiere Pro, where both SRT and VTT can be imported. And if you need to export your transcript into one of these formats, our guide to the best caption generator tools can point you in the right direction.
How to Create YouTube Chapters from Timestamps (Step-by-Step)
Sometimes you don't even need a separate file to improve your video's navigation. YouTube has a fantastic built-in chapter feature that works right from your video’s description box. All it takes is a simple list of timestamps and topics.
Here’s a practical, step-by-step guide to set it up:
- Open YouTube Studio: Navigate to your video and click "Edit video" to open the details page.
- Go to the Description Box: Find the description field where you normally add your video's text.
- Start with 00:00: The first timestamp must be
00:00. Give it a label like "Intro" or "Start." - List Your Timestamps: On new lines, add more timestamps in chronological order. Each one must have a timecode (
MM:SSorHH:MM:SS) followed by a short, descriptive title for that section.
Your final list might look something like this:
00:00 Intro01:15 Understanding SRT vs. VTT03:42 How to Add Chapters05:20 Final Tips
That's it. YouTube automatically reads this format and creates clickable chapter markers right on your video's progress bar. This tiny effort makes a huge difference in the viewer experience, helps your SEO by highlighting key topics, and gives your content a professional polish without any extra software.
How to Burn Timestamps into Your Video

Sometimes, interactive captions or chapters in a video description just won't cut it. You need the timestamp to be visible on the video itself, permanently.
This process is called burning in or hardcoding the timecode. It literally makes the timestamp a permanent part of the video frames, almost like a watermark of time. You can't turn it off.
This is non-negotiable in certain professional fields where the timecode must be an indisputable part of the visual record.
Here’s where burned-in timestamps are absolutely essential:
- Legal Evidence: Think video depositions or surveillance footage for court. A visible timecode guarantees authenticity and eliminates any debate about when an event happened.
- Research Footage: For behavioral studies or user testing, an on-screen time reference helps researchers pinpoint specific moments with absolute precision.
- Film Production: Directors and editors rely on it for reviewing "dailies," allowing them to call out the exact time on screen to reference specific takes and shots instantly.
The Workflow for Hardcoding Timestamps
The process itself is pretty straightforward, but you need the right tools. It all begins with an accurate, timed caption file—the same SRT or VTT file we've been talking about. This file is your blueprint for the visible timecode.
Here is a practical workflow:
- Generate a Precise Caption File: Use a reliable AI transcription service to create an SRT or VTT file with the exact timing you need. This could be word-by-word captions or a simple running clock.
- Import into Video Editing Software: Bring your video and your caption file into your editor. Most professional software like Adobe Premiere Pro has this feature built-in.
- Apply and Style the Captions: Use the software's captioning tools to overlay the text onto your video. Adjust the position, font, and color for readability.
- Export the Final Video: When you export, ensure the option to "burn in" or "hardcode" the captions is selected. This will render the text directly into the video frames.
For a free and powerful alternative, the open-source tool HandBrake is fantastic for burning subtitles from an SRT file.
The goal is to make the timecode clear and legible without distracting from the main video content. Positioning and font choice are key to achieving this balance.
Best Practices for Readability
Once you’re in your editor, don't just slap the timecode anywhere. How you style it makes all the difference. A poorly placed or unreadable timestamp is more of a nuisance than a help.
Follow these tips for a clean, professional look:
- Positioning: Place the timestamp in the lower third of the screen, either centered or off to a corner. This is standard practice for on-screen text and is least likely to cover up important visuals.
- Font and Size: Stick with a clean, sans-serif font like Arial or Helvetica. Make it large enough to be read easily on any device but not so big that it dominates the frame.
- Contrast: Your text color needs high contrast with the video background. You can rarely go wrong with simple black or white. For an extra boost in readability, add a subtle drop shadow or a semi-transparent background box behind the text.
Advanced Timestamping for Developers and Teams
For development teams and businesses building custom media workflows, simply uploading files to a web-based tool often isn't enough. When you need to integrate timestamping directly into your own applications, a transcription API is the only way to go.
This approach lets you programmatically generate transcripts and timestamps, making it a core part of your software instead of a separate, manual step.
Instead of dealing with a user interface, your developers make a simple API call, sending a video or audio file for processing. The system handles the heavy lifting and returns a structured JSON response packed with data—including a full transcript with precise, word-level timestamps.
How an API Call for Timestamps Works
Imagine you’re building a platform to analyze recorded sales calls. With a single API request, you can get back every spoken word, complete with its exact start and end time. This opens the door for powerful features like searchable call archives or automated quality alerts that trigger when specific keywords are mentioned.
Here’s what a simplified Python example looks like. It shows how you'd send a video file to a transcription API and get back a response.
import requestsAPI_KEY = "YOUR_API_KEY"FILE_PATH = "path/to/your/video.mp4"API_URL = "https://api.vatistech.com/v1/files"headers = {"Authorization": f"Bearer {API_KEY}"}with open(FILE_PATH, "rb") as file:files = {"file": file}response = requests.post(API_URL, headers=headers, files=files)# The response will contain a job ID to check for resultsjob_id = response.json().get("id")# You would then poll another endpoint for the JSON result# with word-level timestamps.This kind of programmatic access is what makes it possible to time stamp video content automatically and at scale.
Advanced API Features and Future-Proofing
Modern APIs deliver far more than just a basic transcript. They come loaded with advanced features that are crucial for building sophisticated applications.
- Real-Time Streaming: For live events like webinars or broadcasts, a streaming API can transcribe and deliver timestamps on the fly, making live captions possible.
- Custom Vocabularies: You can teach the AI model industry-specific jargon, unique product names, or internal acronyms to drive its accuracy toward near-perfection.
- Speaker Diarization: The API can automatically tell different speakers apart and label who said what. This is a game-changer for transcribing interviews, meetings, and panel discussions.
An often-overlooked aspect of timestamping is future-proofing your application. Choosing an API that is built on modern architecture is critical for long-term stability.
This brings us to a crucial technical point known as the "Year 2038 problem." The original Unix timestamp, which started counting on January 1, 1970, relies on a 32-bit integer. This system is set to run out of numbers and hit its maximum value on January 19, 2038, which could cause older systems to crash or seriously misdate video files. With over 70% of legacy servers worldwide still running on 32-bit time as of 2024, this is a very real concern. You can read more about the history and future of timestamps to see why this matters.
Using a robust, 64-bit-ready API—like the one in our Vatis Tech speech-to-text API—ensures your video transcripts will have accurate time codes that won’t break down after 2038. It’s a bit of foresight that protects the integrity of your data for decades to come.
Common Questions About Video Timestamping
Even after you get the hang of timestamping, a few questions always seem to surface. We hear them all the time, so let's run through the most common ones to clear up any confusion.
Think of this as a quick-fire Q&A to help you master the finer points of creating perfect video timestamps.
How Can I Ensure My Timestamps Are Accurate?
When your timestamps need to be spot-on—especially for legal clips, research, or compliance recordings—accuracy is non-negotiable. A top-tier AI tool will get you 95% of the way there, but that last 5% is where a quick human check makes all the difference.
After your AI generates the first pass, don't just hit export. A quick manual review is the secret to bulletproof accuracy.
- Spot-Check Key Sections: Jump to a few critical moments in your video. Does the timestamped text match the spoken dialogue perfectly? This simple check catches most errors.
- Verify Timezones: If you're transcribing a recorded event, make sure your transcription tool's timezone settings align with where the recording happened. It’s a small detail that can cause major headaches.
- Confirm Critical Statements: For legal or compliance footage, manually double-check the exact timestamp of every crucial statement or event. You need to be certain they are in perfect sync.
A few minutes of manual review can be the difference between a helpful video guide and legally admissible evidence. It’s a small investment that builds massive trust and reliability.
This two-step workflow—AI automation followed by human verification—gives you both speed and total confidence in your results.
Can I Add Timestamps to a Live Video Stream?
Yes, absolutely. But it’s a different beast than processing a finished video file. Timestamping a live stream relies on a real-time transcription API.
Instead of uploading a file, these services tap directly into your live audio feed. The API processes the audio as it happens, transcribing it and sending back a continuous stream of timestamped text. It's perfect for generating live on-screen captions for a broadcast or creating an interactive, running transcript for a webinar.
What Is the Difference Between Video Chapters and Closed Captions?
Both use timestamps, but they serve completely different functions. It’s a common point of confusion, but the distinction is simple.
Think of it like this: chapters are for navigation, while captions are for accessibility.
Video Chapters
These are your video’s clickable table of contents. They show up as links in the description (like on YouTube) or as visible segments on the player’s timeline. The goal is to let viewers skip right to the parts they care about, which dramatically improves the user experience.
Closed Captions (CC)
These are the synchronized text that appears on the video screen itself. Their main job is to make your video accessible to everyone—viewers who are deaf or hard of hearing, people in noisy environments, or anyone watching with the sound off. Captions ensure your message gets through no matter what.
Ready to unlock the power of precision-timed content? Vatis Tech provides an industry-leading AI transcription service that delivers 98%+ accuracy, speaker identification, and flexible export options like SRT and VTT. Whether you're creating accessible content, building searchable archives, or developing custom applications with our API, we have the tools you need. Start your free trial today and experience the difference.